 打造好用的PowerShell媲美oh-my-zsh
# 简介
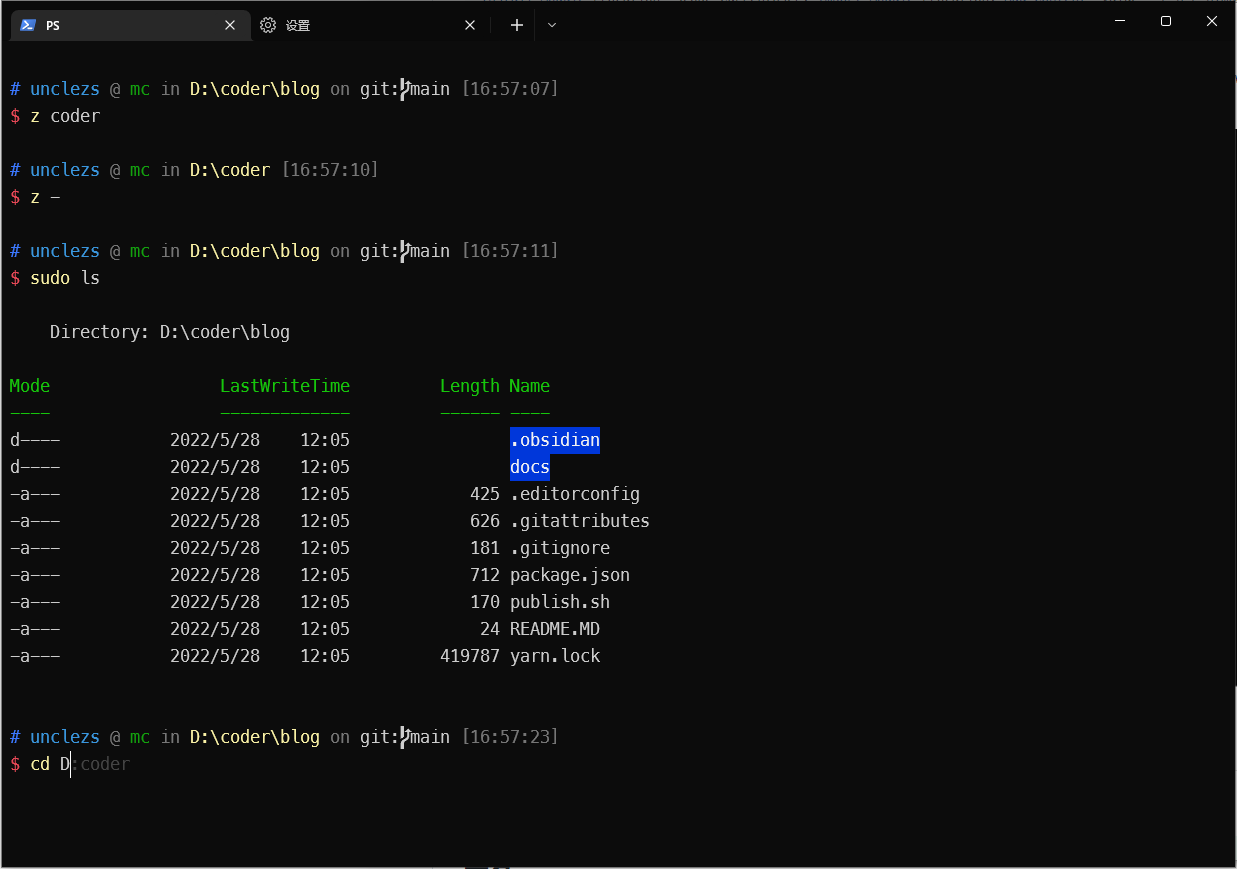
windows下面的CMD控制台很难用,也很丑,但是 wndows 后面出了个 powershell,用着还是不错,但是还是丑,并且有些功能高效功能不具备,比如 git 分支显示,历史命令提示。
在 windows 下用了 oh-my-zsh 后,用着十分的舒服。所以在 windows 上寻找了一样的结局方案。利用powershell 打造属于 windows 的强劲终端
# 安装 PowerShell 7
# 推荐安装
自己维护一个文件夹来放绿色应用,便重装系统
powhershell github release page (opens new window)
直接下载一个 zip 包,并且解压到自己想放的文件夹里面。如我的在
D:\apps\powershell
在这个文件夹里面创建一个 Profile.ps1文件
# 设置环境变量
设置一个 PSHOME 环境变量,并且把 PSHOME 加入 PATH ,让 PS 可以读取到,具体可以看看这个Profile 文件的读取顺序 (opens new window)。
notepad $profile.AllUsersAllHosts

# 在里面加入
$global:profiles = "$PSHOME\Profile.ps1"
2
3
4
这样以后就可以直接 notepad $profiles 打开配置文件了
# 终端选择
- Fluent Terminate (opens new window)
- Terminus (opens new window)
- Hyper,挺好用的,就是感觉 BUG 比较多..
- Windows Terminal (微软应用商店)(我的选择)
- ...
其实 windows 自带的也是可以的,不过用着总是不算那么舒服
# 增强
本节就来改造下 PowerShell,简称 pwsh。
# 字体安装
需要安装 PowerLine 字体来显示一些特殊字符
# clone
git clone https://github.com/powerline/fonts.git --depth=1
# install
cd fonts
./install.sh
2
3
4
5
再将终端字体设置为 Meslo LG S DZ for PowerLine
# Oh-My-Posh
Oh My Posh 是一个自定义提示引擎,适用于任何能够使用函数或变量调整提示字符串的 shell
oh-my-posh 官方文档 (opens new window)
# 安装
scoop install https://github.com/JanDeDobbeleer/oh-my-posh/releases/latest/download/oh-my-posh.json
# 更新
scoop update oh-my-posh
2
3
4
首先在 pwsh中输入 $profile 并回车,Posh 会输出你当前使用的 Profile 文件地址,打开该文件(若没有就需要新建),在该文件中写入以下内容。
或者直接使用:
notepad $profile
编辑保存,写入:
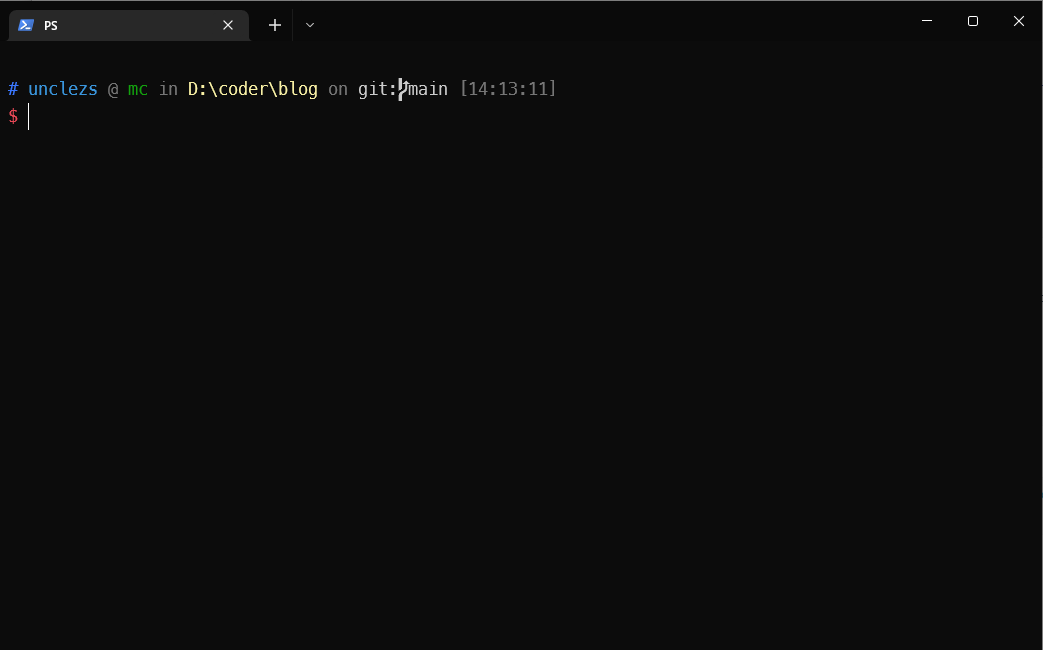
oh-my-posh init pwsh --config "$(scoop prefix oh-my-posh)\themes\ys.omp.json" | Invoke-Expression
保存之后重启posh即可看到效果
# 历史命令提示
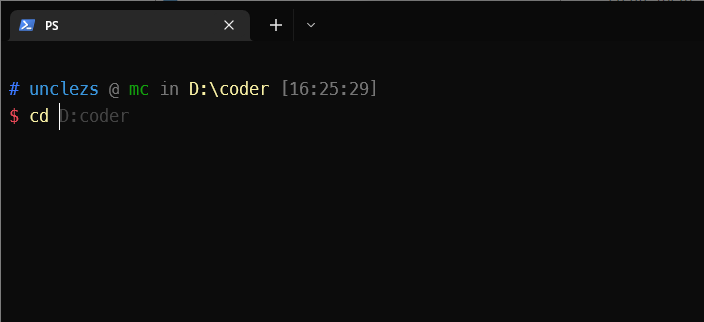
通过PSReadLine (opens new window)实现zsh-autosuggestions插件的功能。
安装:
Install-Module -Name PowerShellGet -Force
在主题配置文件后加入
Import-Module PSReadLine
# 设置预测文本来源为历史记录
Set-PSReadLineOption -PredictionSource History
# 设置 Tab 为菜单补全和 Intellisense
Set-PSReadLineKeyHandler -Key "Tab" -Function MenuComplete
# 每次回溯输入历史,光标定位于输入内容末尾
Set-PSReadLineOption -HistorySearchCursorMovesToEnd
# 设置向上键为后向搜索历史记录
Set-PSReadLineKeyHandler -Key UpArrow -Function HistorySearchBackward
# 设置向下键为前向搜索历史纪录
Set-PSReadLineKeyHandler -Key DownArrow -Function HistorySearchForward
2
3
4
5
6
7
8
9
10
11
# 目录跳转
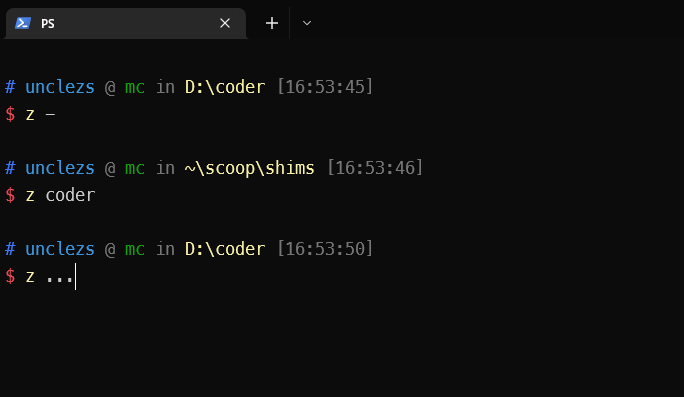
ZLocation (opens new window)和 autojump 差不多效果。快速 cd 到历史去过的目录。
Install-Module ZLocation -Scope CurrentUser
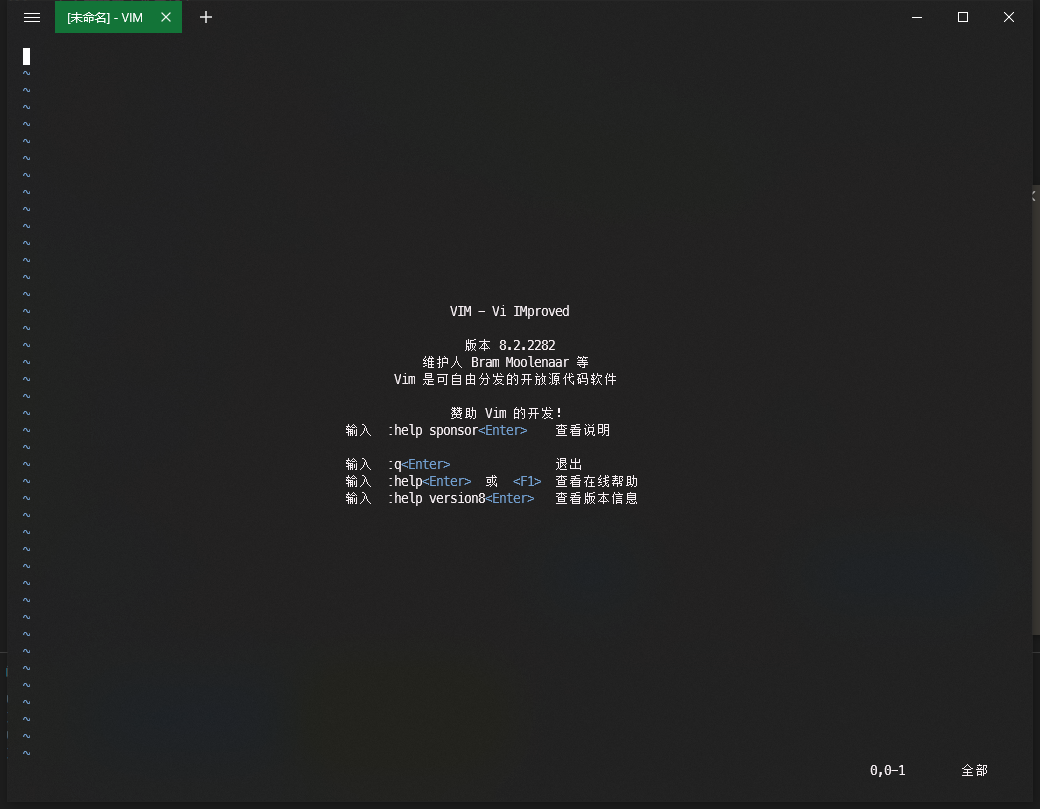
# Vim
# 安装
scoop install vim
2
乱码问题解决
在 vim 安装目录,如 C:\Users\unclezs\scoop\apps\vim\8.2.2824 中的 _vimrc(无则创建)里面加入下面的就行。
set fileencodings=utf-8,ucs-bom,cp936,big5
set fileencoding=utf-8
2
# 配置代理
set ALL_PROXY=http://127.0.0.1:7890
# Sudo
具体查看:https://github.com/gerardog/gsudo (opens new window)
通过scoop安装:
scoop install gsudo
安装之后就可以使用 sudo 执行管理员权限了。
# 移除 Logo
启动参数里面加上 -nologo 即可,则可以不显示每次打开的那个 PowerShell 的欢迎语了。
pwsh.exe -nologo
# 最终配置
$global:profiles = "$PSHOME\Profile.ps1"

# oh-my-posh
oh-my-posh init pwsh --config "$(scoop prefix oh-my-posh)\themes\ys.omp.json" | Invoke-Expression

# PSReadLine
Import-Module PSReadLine
# 设置预测文本来源为历史记录
Set-PSReadLineOption -PredictionSource History
# 设置 Tab 为菜单补全和 Intellisense
Set-PSReadLineKeyHandler -Key "Tab" -Function MenuComplete
# 每次回溯输入历史,光标定位于输入内容末尾
Set-PSReadLineOption -HistorySearchCursorMovesToEnd
# 设置向上键为后向搜索历史记录
Set-PSReadLineKeyHandler -Key UpArrow -Function HistorySearchBackward
# 设置向下键为前向搜索历史纪录
Set-PSReadLineKeyHandler -Key DownArrow -Function HistorySearchForward

# 代理配置
set ALL_PROXY=http://127.0.0.1:7890
2
3
4
5
6
7
8
9
10
11
12
13
14
15
16
17
18
19
20